When You Should Replace a Laptop Battery
Learn when to replace laptop battery for optimal performance. Discover the signs that indicate it's time to replace laptop battery and improve your laptop's efficiency.
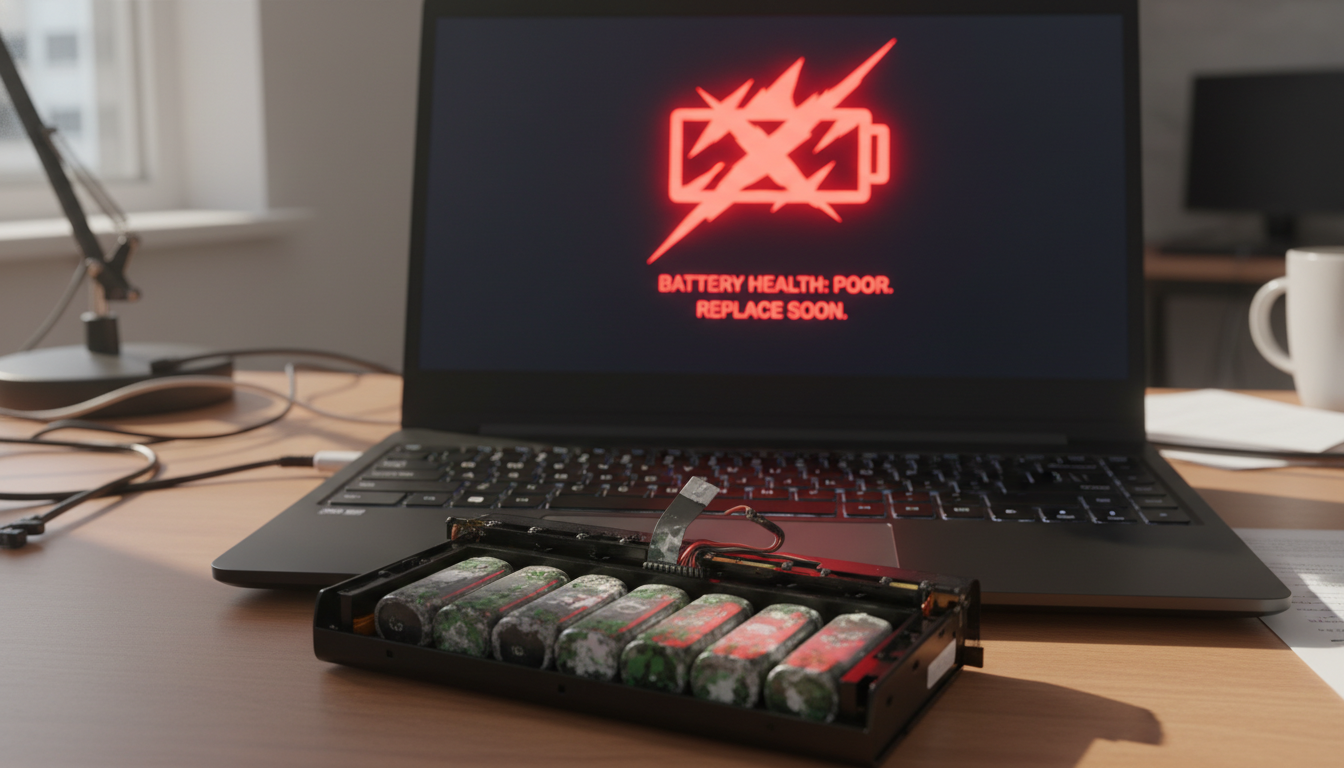
Battery wear shows up in everyday use as fast draining, overheating, failure to charge, or sudden shutdowns. These symptoms make a device unreliable for work, school, or travel.
This short article helps you decide when a swap is warranted and outlines a safe approach. The exact steps vary if the pack is removable or internal, so start by identifying your design.
Practical outcomes of a successful swap include steadier unplugged time and fewer surprise shutdowns. Begin with a full power down, disconnect external power, and handle cells carefully to avoid shorting contacts or stressing the module.
Preview: one path is a removable bay; the other is an internal pack that needs the chassis opened. The right way also includes choosing a compatible unit and watching for heat or charging errors after installation.
Key Takeaways
- Look for quick drains and sudden percentage drops as signs of wear.
- Identify whether the pack is removable or built in before you begin.
- Power down and disconnect to reduce risk during handling.
- Choose a compatible replacement and do an initial full charge.
- Watch post-install behavior for heat and charging errors.
Signs It’s Time to Replace Your Laptop Battery for Better Performance
Spotting performance drops quickly saves time and keeps your device dependable on the go. Watch for clear, user-facing signs rather than guessing about internal faults.
Battery drains too quickly and capacity drops
Practical benchmark: compare current run time on a full charge to the original use. If usable time falls sharply, steep percentage drops during light tasks show lost battery capacity.
Unexpected shutdowns after a charge
A machine that powers off abruptly, even with recent charging, often cannot hold stable voltage under load. Sudden shutdowns are a strong indicator of worn cells.
Overheating, swelling risk, or high heat
Unusually high heat near the case, bulging, or a lifted trackpad means stop using the device and seek service immediately.
Battery fails to charge or only works on the adapter
If the system will only run when plugged in, or charging stalls at a percent and won’t complete, the pack may be at end of life. When two or more symptoms appear together, replacement planning is more likely than a one-off fix.
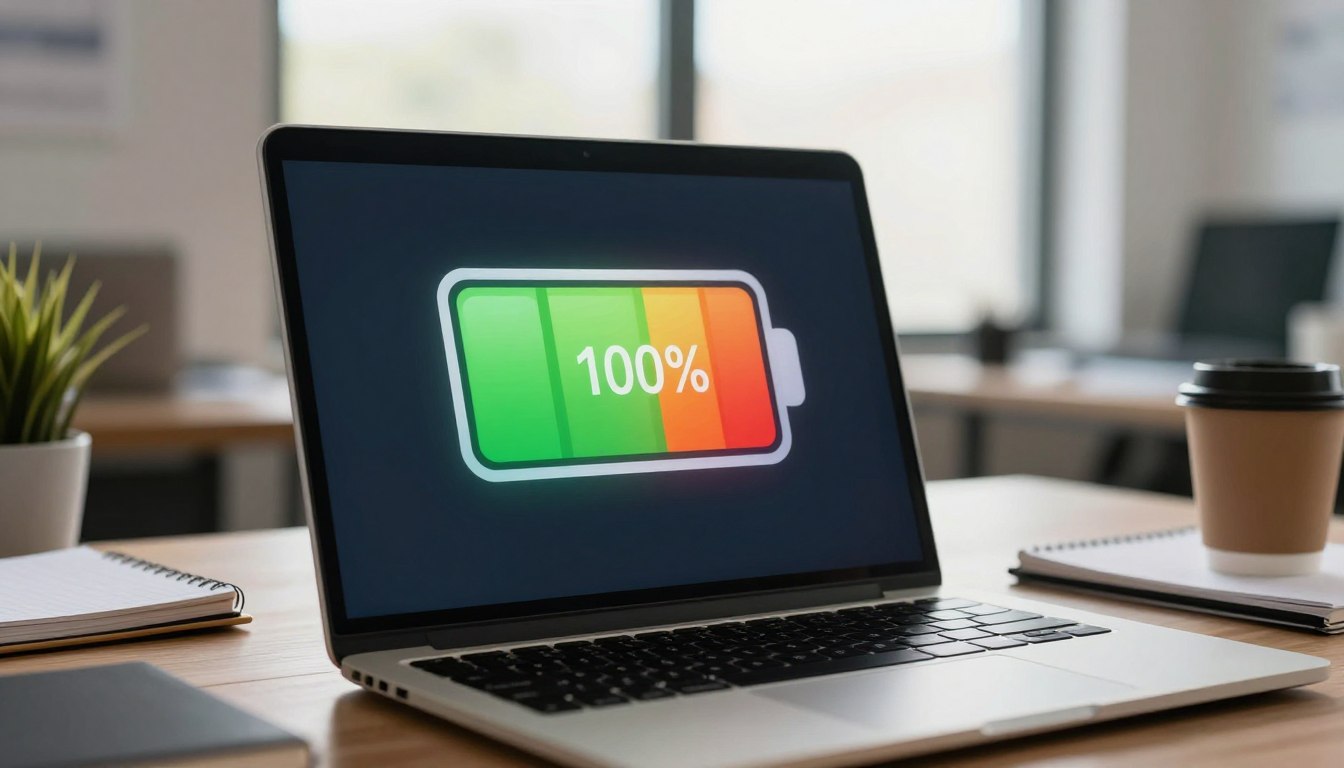
- Outcome to expect: steadier unplugged run time and stable operation—not faster CPU speed.
What to Check Before You Replace Laptop Battery
Before you buy parts, confirm the fault with a short set of checks. Testing the power chain first avoids wasted effort and unnecessary cost.

Confirm it’s not the adapter or charging port
First, verify the AC adapter delivers stable wall power. Try a different, compatible adapter if available.
Inspect the charging port for looseness or damage. If the system runs fine on AC but fails on unplugged power, the pack is likely the issue.
Compare current runtime to when the device was new
Run a simple, repeatable workload—web browsing or video streaming—to measure real-world run time. Compare that time to the original specs to estimate lost battery capacity.
Decide if replacement makes sense versus other fixes
Check the OS or manufacturer health report as supporting data. If the machine is otherwise sound, a pack swap is often cheaper than full system repair.
- Go: multiple shutdowns on battery + reduced capacity + charging inconsistency.
- No-go: stable on AC with adapter issues or other hardware faults—address the adapter or port first.
Next: if you choose to move forward, the process depends on the pack style and access. The following section explains types and placement.
Know Your Laptop Battery Type and Battery Place
Start by identifying whether the power pack sits in an external bay or inside the chassis. That single check tells you if the job is quick or requires tools and care.
Removable pack basics
Flip the device over and look for a dedicated bay, a latch, or a release button. A visible bay usually means you can slide the pack out without opening the case.
Use the latch or press the button while supporting the unit. A removable pack keeps the task low-risk and fast.
Internal designs on newer models
Thin, modern machines often hide the pack under a back plate. Access requires a screwdriver and careful removal of screws and clips.
Internal access raises the risk level. You must disconnect a connector and avoid stressing the board or cables.
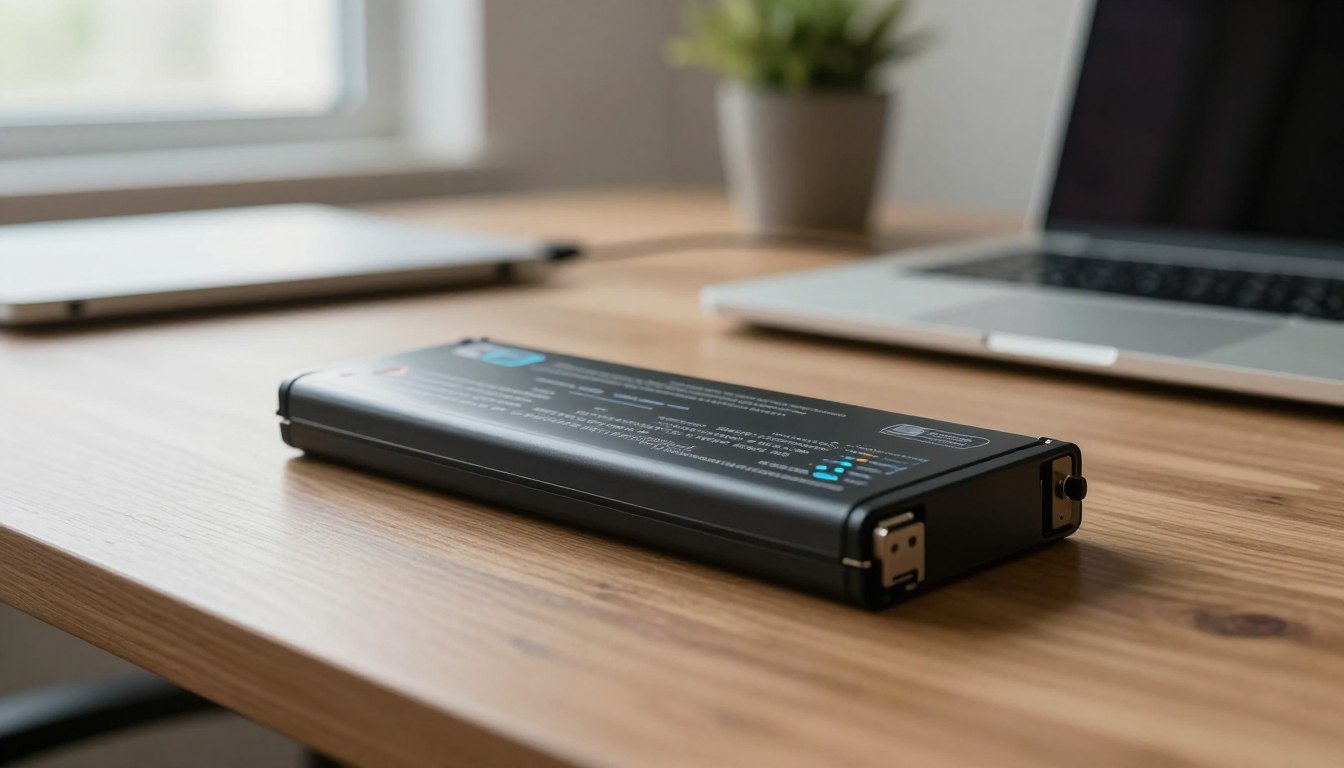
Compatibility essentials
Match model and part number. Check voltage, form factor, and connector type before buying a new battery or a replacement.
- Higher capacity generally gives longer runtime if the part is genuine.
- Don’t use an “almost fits” option; it can cause charging errors or poor fit.
“Confirm the exact model and voltage before you buy—fit and specs matter more than headline capacity.”
| Design | Access | Tools Needed | Risk Level |
|---|---|---|---|
| Removable bay | External | None or simple | Low |
| Internal pack | Under back plate | Screwdriver, pry tool | Medium–High |
| Manufacturer sealed | Service center | Special tools | High |
Next: With the type and place identified, follow the procedure for removable packs or internal packs in the following sections.
How to Replace Laptop Battery Safely on Laptops With a Removable Battery
These steps show a safe, fast path for removable packs. Work on a flat surface, keep metal tools away from contacts, and avoid doing this while the system is plugged in.
Power down and disconnect accessories
Shut the device down completely — do not use sleep. Unplug the adapter and remove any USB drives or external devices to prevent draws or snags.
Unlock and slide out the old battery
Hold the latch in the unlock position or press the release button. Slide the old battery out gently without forcing it. Do not touch metal contacts inside the bay or on the pack.
Install the new battery and charge
Align rails or notches, slide the new battery in until it sits flush, and lock the latch. Reconnect the adapter and give the unit a full initial charge before normal use.
- Confirm the system detects the new battery.
- Unplug and verify the device stays on running from the pack.
- Ensure the latch is fully engaged and the pack does not move.
Note: These steps apply only to removable packs. If you have an internal design, proceed to the internal replacement instructions.
How to Replace an Internal Laptop Battery at Home
A careful, step-by-step approach makes internal pack swaps doable at home for many users. Work on a clean, static-minimized surface with bright light. Lay out tools and sort screws by location so nothing gets mixed up.
Tools to have: a set of small screwdrivers, a plastic pry tool or guitar pick, and a non-marring plastic edge tool. Use the right screwdriver sizes so screws do not strip.
Remove the back plate and access the pack
Power off, unplug, and remove any SD or SIM cards first. Remove all visible screws, then work the seam gently with a plastic tool.
Do not force the cover; clips can snap if twisted. Take photos as you go to help with reassembly.
Disconnect and drain residual power
Locate the connector and unplug it from the system board before touching other parts. That reduces the chance of a short while you work.
After unplugging, press and hold the power button and wait about 10 minutes to help drain leftover charge from the circuits.
Remove the old pack, install the new one, and reassemble
Remove mounting screws and lift the old battery out carefully. Align the new battery using hooks or guide pins, then fasten the screws back in place.
Reconnect the cable, reinstall the back plate, and reinsert any media you removed. Boot the system on AC power and keep it connected for at least 15 minutes after first start so the system reports charge correctly.
When not to DIY
If the pack is swollen, glued, or sealed in a way that forces you to open the cell casing, stop and seek professional service. Rebuilding packs with 18650 cells requires spot welding and soldering near energy-dense cells and carries fire and short risks.
Conclusion
, Choosing the correct fix starts with simple diagnostics and a safety-first approach.
When a laptop battery drains fast, shuts down without warning, runs hot, or will not charge reliably, planning to replace laptop battery is often the most direct fix.
Always confirm the adapter and charging port first to avoid buying parts you do not need.
Removable packs work with a latch-and-slide swap. Internal packs need the back plate off, the connector unplugged, and careful reassembly.
Match parts and avoid cell-level rebuilding to protect your device and your safety. A correct installation restores usable runtime, improves unplugged performance, and extends your device’s service life.
If anything looks swollen, overheated, or differs from your model, stop and seek professional repair rather than forcing the process.