Why Your Laptop Battery Won’t Charge to 100 Percent
Discover why your laptop battery not charging to 100 percent. Learn troubleshooting steps to resolve the issue and optimize your battery's performance.
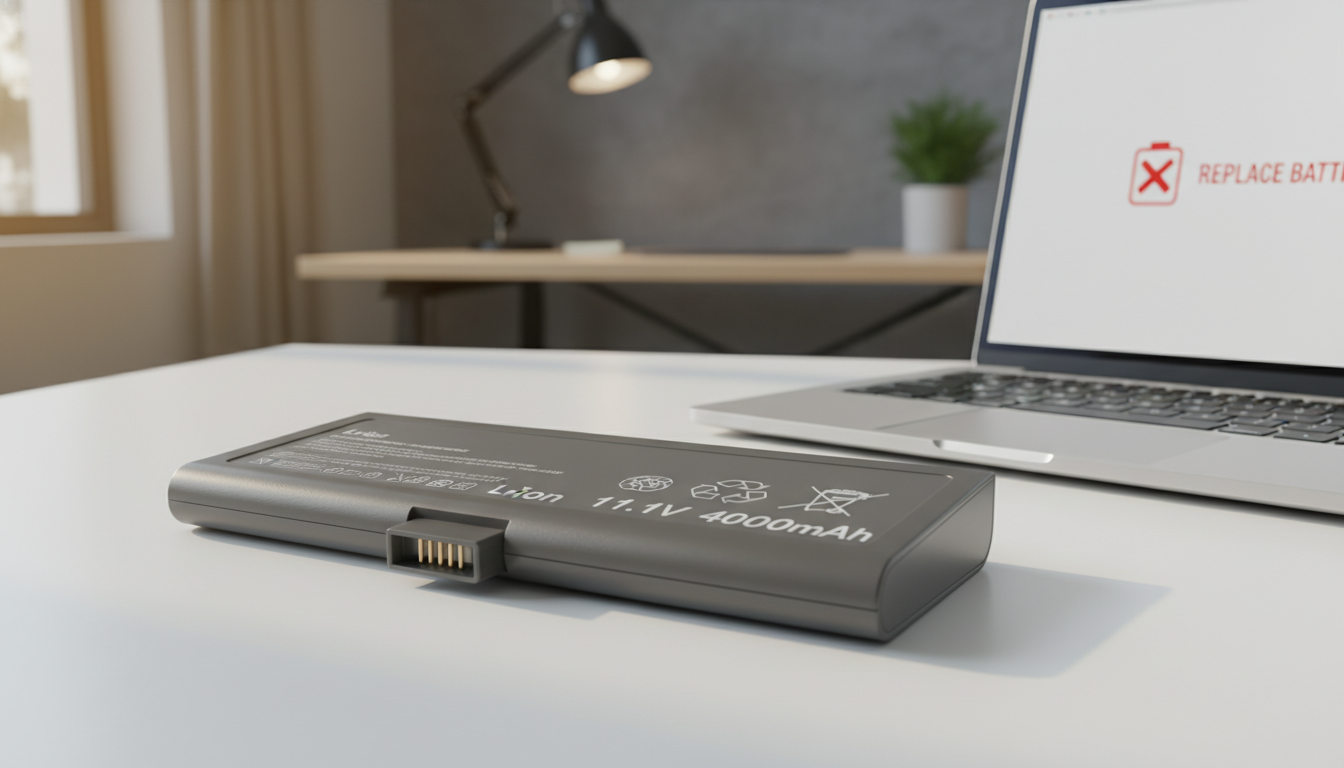
Seeing a device stop short of full can be confusing. Many users expect a full readout, but modern power systems often limit display numbers to protect cell health. This guide helps you tell if the behavior is normal protection or a real problem.
Quick note: start with basic checks like the adapter and outlet, then use Windows diagnostics if needed. A Battery Report compares design capacity and current capacity and can reveal wear or calibration errors.
Some manufacturers set a safe cap to extend service life. Other times, aged cells or a hardware fault cause a lower maximum. Distinguishing a display-reading issue from an actual charging limit saves time and avoids needless parts purchases.
Safety first: if the unit or adapter feels very hot, smells burned, or the port is damaged, stop and seek repair. This article focuses on common Windows systems in the United States and current power management behaviors.
Key Takeaways
- Not reaching full can be a protective limit or a sign of wear.
- Start with physical checks, then run Windows battery diagnostics.
- Battery health reports show design vs current capacity for clarity.
- Heat, odors, or port damage are safety warnings—stop troubleshooting.
- Replacement is a last step after confirming health and hardware status.
What “Not Charging Fully” Means and What It Usually Points To
Seeing a percent bar that plateaus well below full usually signals either protective limits or failing cells. In practice this shows as a meter that stalls between about 60% and 95%, holds steady while plugged in, or bounces up and down even when power is connected.

Battery discharges but won’t recharge past a set percent
This behavior often means one of three things: worn cells, a manufacturer set charge cap, or a software estimate that is out of sync. Worn cells reduce total capacity and can make the gauge stop early. Some OEM utilities intentionally limit the top charge to extend battery life.
Shows “charging,” but the device dies when unplugged
If the system reports charging yet it shuts off the moment power is removed, the pack may have failed or the connection is bad. Deep cell faults can trigger internal safety circuits that leave the pack unable to hold usable charge.
Common root causes and a simple decision tree
- Wear or capacity loss: check a Battery Report for design vs current capacity. A large gap suggests replacement.
- Power management limits: OEM settings can cap the top percent to prolong life.
- Software miscalibration: misreads occur after swaps, abrupt shutdowns, or aging cells.
- Hardware problems: loose connectors, adapter faults, or charging circuit issues.
| Symptom | Likely Cause | Quick Check |
|---|---|---|
| Percent stalls at a set level | Charge cap or miscalibration | Look for OEM power limits or run a battery report |
| Shows charging but dies unplugged | Failed pack or connection | Try a different adapter and test on battery alone |
| Slow fill vs sudden stop | Adapter or charging circuit issue | Try another outlet and verify adapter specs |
Before changing settings, run a few checks: can the computer run on battery, does the behavior change with another power source, and does the percent climb slowly or hit a fixed plateau? Hardware checks come next because they remove the most common faults quickly.
laptop battery not charging to 100: Quick Hardware and Power Checks That Fix Most Cases
Start with a quick physical pass. Many power problems are caused by a loose plug, weak outlet, or damaged connector. These checks take minutes and often fix the issue.
Confirm the AC adapter and cable are firmly connected
Check both ends. Make sure the adapter is seated in the wall and the port. A wobbly connection can stop normal power delivery.
Try a different wall outlet
Low or unstable voltage can slow or halt charging. Plug into another circuit or a different room to compare results.
Test with another charger and verify specs
Borrow a compatible charger or test your adapter on a similar device. Match the adapter’s voltage and polarity on the label. Stop if the adapter heats up or the cable looks damaged.
Inspect the port and contacts
Look for debris, bent pins, wobble, or heat marks. For removable packs, gently clean contacts with a dry cloth. Poor contact often mimics a failed pack.
Remove external devices and observe success
Unplug USB drives, phones, and peripherals. Reducing load can let the system gain charge above the previous limit. Success means the percent climbs past the old plateau or the computer stays on when unplugged.
Stop and seek repair if the port is damaged, the adapter fails multiple checks, or charging stays unstable across outlets and chargers.
Windows and System Fixes to Restore Battery Charging and Accurate Percent Readings
When physical checks fail, system-level steps in Windows often resolve misreporting and charging glitches.
Run the Power troubleshooter
Open Settings: Start > Settings > Update & Security > Troubleshoot > Power > Run the troubleshooter.
Restart the computer after it finishes. This built-in tool fixes common power and reporting faults.
Refresh drivers in Device Manager
Press Windows key + X > Device Manager > expand Batteries. Right-click Microsoft ACPI-Compliant System and any battery entries, then choose Update driver.
Driver updates can resolve communication errors between the pack and the system.
Generate a Battery Report and check OEM limits
Create a Windows Battery Report to compare design capacity vs current capacity. A big gap shows wear; a small gap points at settings or software.
Also check vendor power settings (battery health, conservation mode, or charge threshold) in OEM utilities.
| Action | What it checks | When to contact support |
|---|---|---|
| Power troubleshooter | System power settings and common faults | Tool finds repeated errors or fails |
| Device Manager driver update | Battery and ACPI driver communication | Drivers fail to update or errors persist |
| Battery Report & OEM tools | Capacity wear vs software limits | Report shows severe capacity loss or vendor test fails |
Other steps: disable heavy background apps in Settings > Privacy and Settings > System > Battery > Battery usage by app. Perform a power-button reset (shutdown, hold power button 15–30 seconds, reconnect adapter, restart).
For persistent issues, update BIOS and chipset using the manufacturer’s official process and run vendor diagnostics. If diagnostics return failure codes or the device is under warranty, contact support.
Conclusion
Work methodically through hardware checks and system diagnostics to pinpoint if the cause is a settings limit, capacity loss, or adapter failure.
Start simple: verify the adapter and outlet, inspect the port and contacts, and reduce external load. Then run Windows tools, update drivers, and check OEM limits to rule out software caps.
If a Battery Report shows heavy capacity loss or the device dies when unplugged, replacing the pack is usually the practical fix. Swapping the adapter often solves inconsistent or slow charge when the pack reads as healthy.
When stuck, run OEM diagnostics and contact manufacturer support. Remember, some systems intentionally stop short of full to protect cell health, and that behavior can be normal.