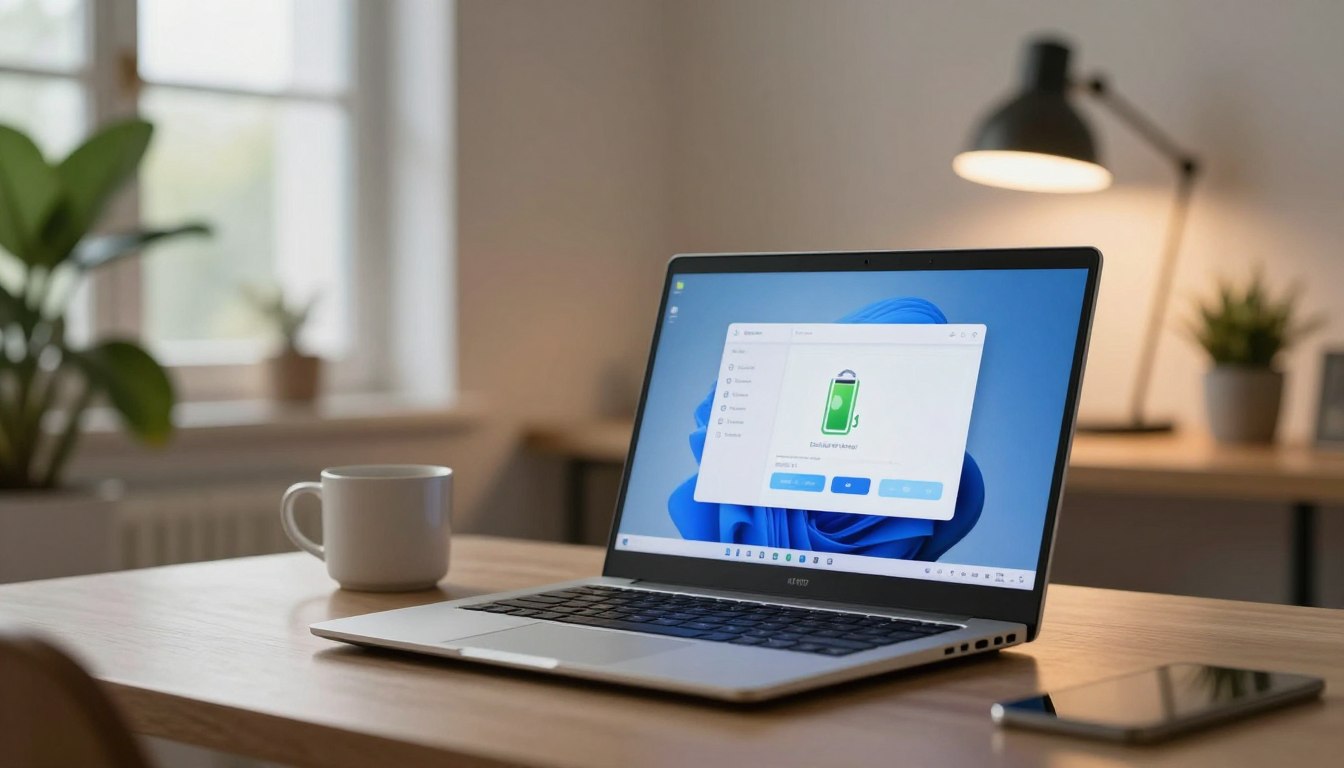
Why Screen Brightness Has a Huge Impact on Battery Life
Maximize your device's battery life by adjusting screen brightness. Get the best practices for screen brightness battery optimization in our latest guide.
The display is one of the most power-hungry parts of a modern phone. Small choices about light output change how long a charge lasts. This guide is for U.S. phone and tablet users who want to get through the day without needless trade-offs.
First, we explain how light level alters power draw at the hardware level. Then we give clear, step-by-step settings you can use to cut drain without making your view unusable.
Expect variation: results depend on device model, display type, and daily habits. Still, the same basic ideas apply across iPhone and Android devices.
The article focuses on present-day use: indoor work, commuting, bright daylight, and night comfort. You will also find real-world measurements and actionable tweaks like the slider, auto adjust, timeout, always-on options, refresh rate, dark mode, and power-saving modes.
Key Takeaways
- Display choices strongly affect how long a charge lasts.
- Advice targets U.S. phone and tablet users aiming for all-day use.
- We cover hardware reasons and step-by-step setting changes.
- Results vary by device and habits, but principles are consistent.
- Actionable tips include auto adjust, timeouts, refresh rate, and dark mode.
Why screen brightness drains battery life on phones and tablets
Displays use two very different ways to make light, and those choices change how much power a phone uses.
Display power basics: backlight vs pixel emission
Traditional LCD/LED panels rely on a single backlight. Raising the slider forces that lamp and its driver to push more current, so the panel draws more power almost linearly.
By contrast, OLED panels light each pixel individually. That means on-screen content matters: bright whites or large images light many pixels and use more energy than dark content.
How higher settings amplify total device use
Higher light output also generates heat. Heat reduces efficiency and can trigger thermal management, which raises fanless device load and forces the system to throttle or boost other components to stay stable.
People tend to keep a brighter view on longer. More on-time means more power used by radios, CPU cycles, and background tasks. At very high settings the phone may also lift performance to keep animations smooth, further raising total draw.
Quick takeaway: adjusting that slider is one of the fastest ways to cut drain. It affects the panel directly and also changes how the whole device behaves.
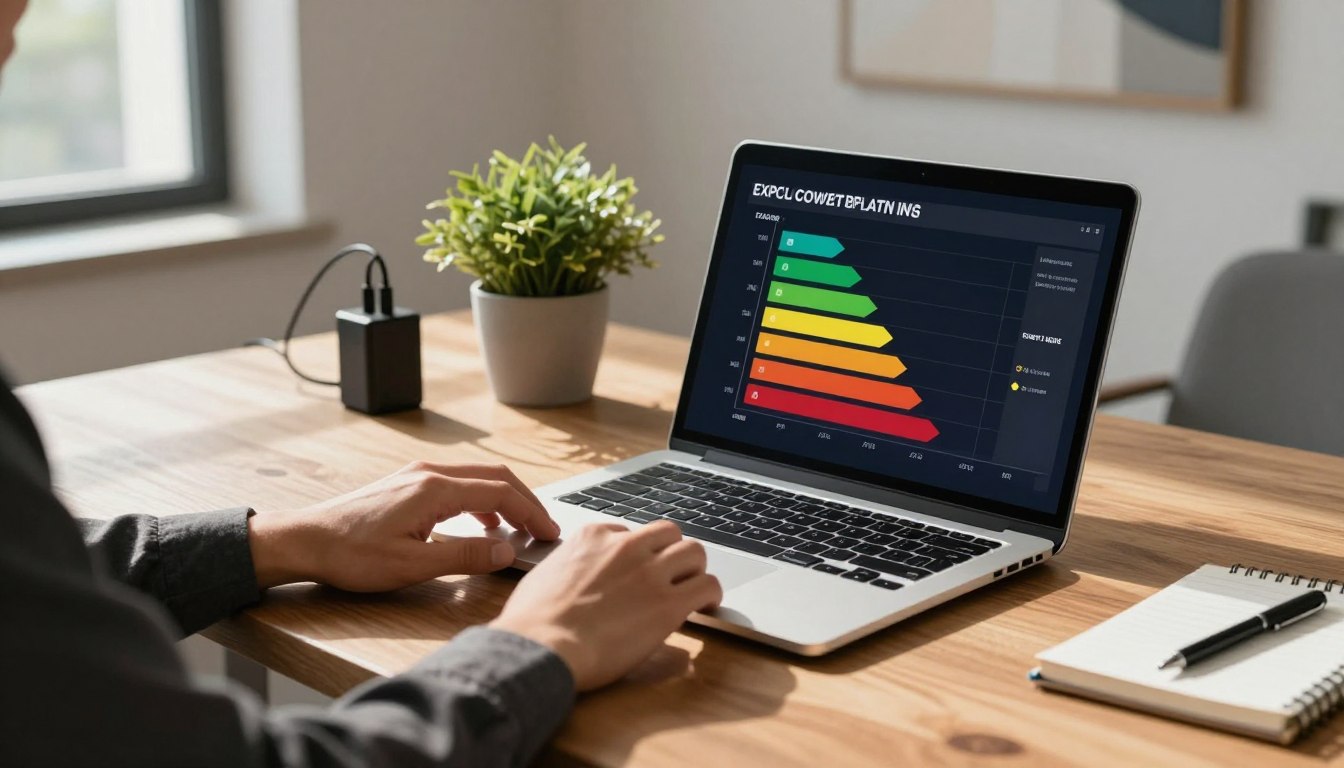
How big the impact can be, based on real-world measurements
Real measurements make the trade-offs clear. An iPhone logging test (charger plus a power meter) showed roughly 1.5 W at full output and much less at low output. Model estimates from that data put continuous run time at about ~6.5 hours at the lowest setting and ~3.5 hours at the highest when in airplane mode.
What the iPhone test suggests about power at low vs full output
The experiment demonstrates that raising the visible level increases total power draw measurably. That directly reduces overall runtime and shortens how long a charge lasts.
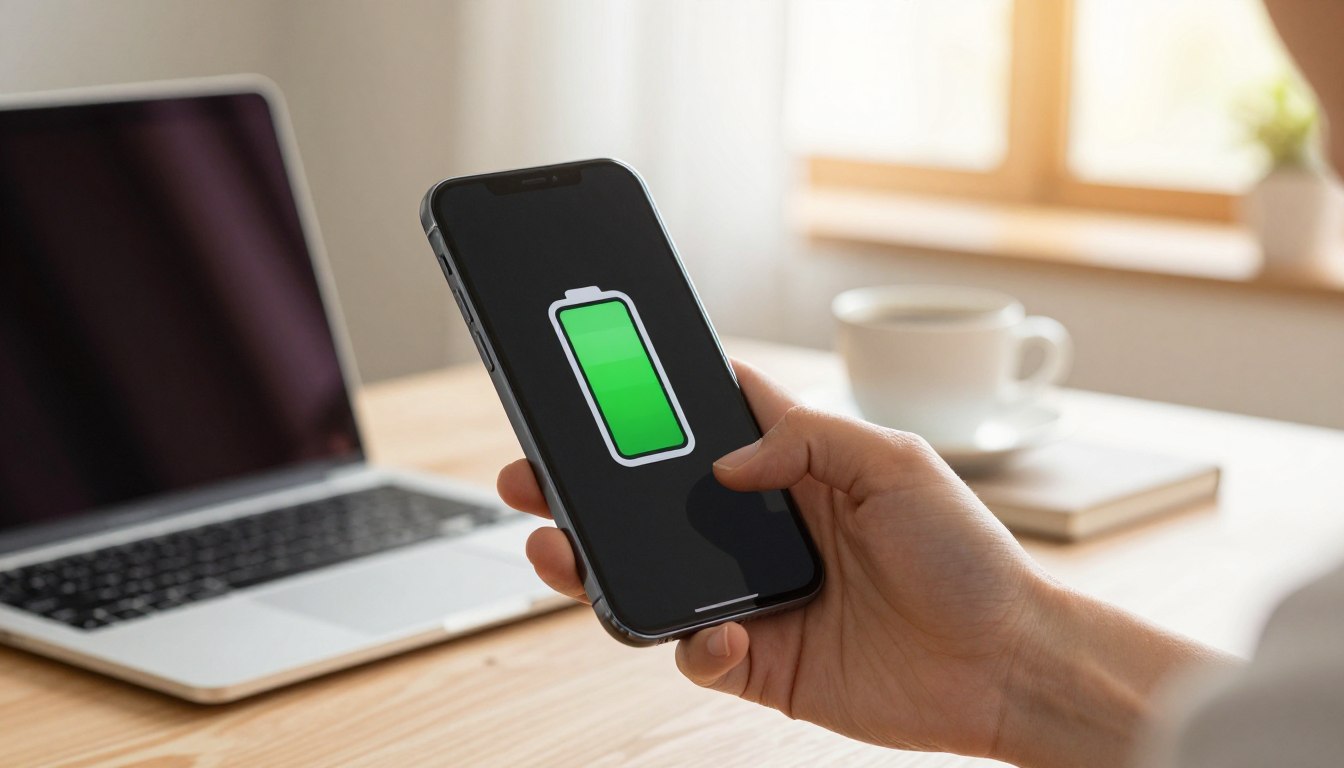
Continuous use versus standby: what users should know
Continuous use means the display is on and someone interacts with apps. Standby means the display is mostly off but background tasks run. Most people live in a mix of both, so the net effect of output changes depends on how long you keep the device active.
How radios shift the baseline
With Wi‑Fi or cellular active, average draw can rise (example: ~1.67 W vs ~1.0 W in airplane mode). That extra overhead reduces the percent savings from lowering output, but optimizing both light level and radio activity gives the best day-to-day improvement.
- Takeaway: Lowering visual output still saves real power per minute of use.
- Pair moderate levels with radio and background controls for the most consistent gains.
screen brightness battery: choosing the best display level for your day
Choose a display level that keeps text legible, then lower it until reading feels comfortable. Start with clarity, then trim power use in small steps.
Picking a comfortable setting indoors, outdoors, and at night
Indoors: typical office or home lighting rarely needs maximum output. A moderate setting preserves runtime while keeping text easy to read.
Outdoors: direct sun may force higher output, but using shade, tilting the device, or enlarging text reduces the need to go to full power.
Night: lower light reduces eye strain and stops late-night checks from fully waking you. This saves power and helps with sleep hygiene.
When “half brightness” is the practical sweet spot
Half is often the best compromise. It keeps readability across many scenes while avoiding the steep power rise near the top end of the slider.
How glare, ambient light, and size change your ideal level
Glossy panels need more output in bright settings than matte or shaded screens. Larger displays emit more total light at the same setting and can raise power use.
| Environment | Practical setting | Quick tips |
|---|---|---|
| Indoor | 40–60% | Use moderate level; increase text size if needed |
| Outdoor | 70–100% (as needed) | Find shade, tilt device, avoid max unless required |
| Night | 10–30% | Lower light, enable warm mode or night theme |
Reassess defaults by time of day and location instead of leaving the slider high all the time. Small adjustments across the day add up to meaningful savings.
Adjust brightness quickly using your phone settings (Android and iPhone)
Quick access controls let you cut display output in seconds without diving into menus. Learn the fastest methods so you can stop unnecessary drain the moment it starts.
Using Quick Settings/Control Center to lower brightness in seconds
On Android, swipe down to open Quick Settings and drag the slider left. This is the fastest way to stop excess power use and reduce visible output immediately.
On iPhone, swipe into Control Center and pull the slider down. Small reductions often add up to meaningful savings over a day.
Turning on Auto/Adaptive Brightness to prevent unnecessary peak brightness
Enable Auto Brightness (iPhone) or Adaptive Brightness (Android) so the ambient sensor adjusts output automatically.
This prevents the phone from jumping to peak levels indoors. You can still use manual overrides when outdoors.
Reducing extra display light from accessibility and display enhancements
Options like extra-bright modes, high-contrast, or display boosts raise output. Use them only when needed.
If a recent update or new app causes fast drain, check whether an enhancement is stuck on or the slider is fixed high. That simple troubleshooting process often finds the cause.
- Tip: Pair quick adjustments with a shorter sleep timeout for best results.
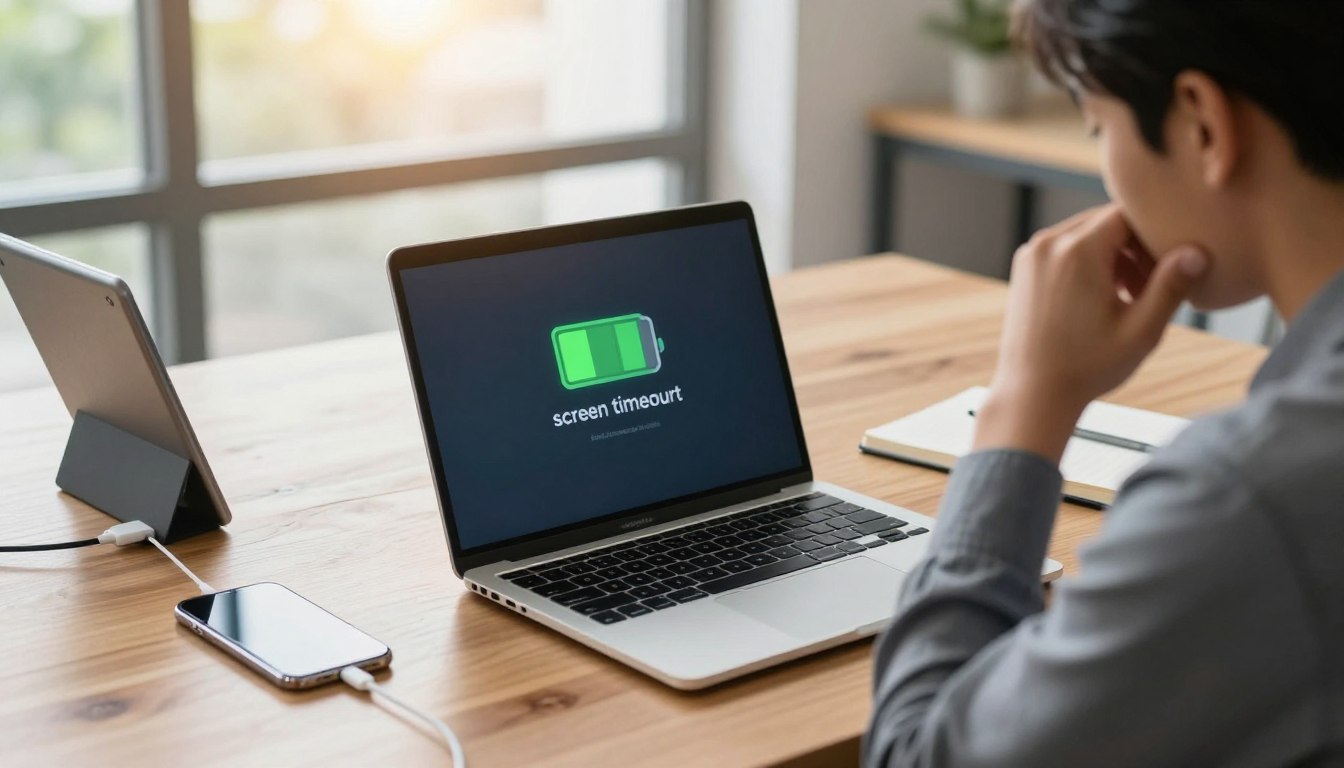
Shorten screen timeout to stop silent battery drain
A short timeout stops long, unnoticed drain when you set your device down unlocked.
Why it matters: a phone left with its display active uses power just as if you were holding it. Those brief, frequent moments add up and chip away at overall battery life.
How idle-on time becomes invisible drain
Many people glance away or set the device down unlocked. The display often stays on for default times of 2–5 minutes, wasting minutes repeatedly across the day.
Where to change the setting and what to pick
On Android: Settings → Display → Screen timeout (label varies). Pick 30 seconds to 1 minute for daily use.
On iPhone: Settings → Display & Brightness → Auto-Lock. Choose a shorter value to cut wasted on-time.
- Usability note: too-short timeouts can interrupt reading or maps. Pick the shortest value that does not frustrate common tasks.
- Quick tip: high light plus long timeout is one of the fastest ways to drain the battery without noticing it.
- Test: try a shorter timeout for a day and compare end-of-day charge to see real effects.
Disable always-on display and lock screen extras that keep your screen active
Many phones now show info while locked, but that convenience can cost you usable runtime over the day.

What always-on means: the feature keeps a small part of the display lit to show time or notifications. That partial wake state draws power continuously, even when you are not interacting with the device.
Why this matters across the day
That steady current is small per hour but meaningful over 8–16 hours. On busy travel or commute days, the added drain can make the difference between full-day use and a midday charge.
What to toggle off on Android
Go to Settings → Lock Screen (or Display) → Always On Display / “Always show info.”
Switch it off and lock the phone to confirm the display goes completely dark.
Other lock-screen extras to check
- Turn off frequent notification previews that wake the screen.
- Disable “wake on pickup” or similar gestures that light the view automatically.
- Limit which apps can show lock-screen alerts to reduce wakes and background activity.
Tradeoff: you lose some glanceable convenience, but you gain steadier battery life and fewer inadvertent wakes. Reducing wakes also lowers background app activity and the chance you tap the phone and keep it on.
Lower refresh rate when you need more battery
A higher refresh rate redraws motion more often, which increases power use on many phones. This is why 90Hz or 120Hz modes feel smoother but cost more energy during long use.
Why 90Hz/120Hz “smooth” modes use more power
Higher Hz means the display updates more times per second. Each extra frame demands GPU and display driver effort, so continuous scrolling, gaming, or map use raises total draw.
When it matters most
Short checks and quick taps show little difference in runtime. Long sessions—social feeds, web browsing, streaming games, or navigation—amplify the impact on battery and overall device power.
Where to change Motion smoothness / Smooth Display
On many Android phones go to Settings → Display → Smooth Display (Pixel) or Motion smoothness (Samsung) and choose the standard 60Hz option.
Expectations: 60Hz looks slightly less fluid, but most users adapt quickly and gain meaningful runtime on busy days.
A practical approach
- Keep high refresh when you are near a charger or want the smoothest experience.
- Switch to 60Hz on travel days or when you need endurance over style.
- If you must raise the visible level outdoors, lowering the refresh rate helps offset some of the extra power draw.
Use dark mode strategically for battery savings
A dark theme changes what the panel must light, which can help extend run time on phones with emissive pixels.
When dark helps most on OLED displays
OLED pixels can dim or shut off. On those displays, darker pixels use far less energy because they stop emitting light entirely when truly black.
On traditional LCDs the backlight stays on, so gains are smaller. Expect bigger savings on OLED devices, especially in apps that show a lot of dark content.
Keep dark theme all day or schedule it
Always-on approach: If your phone uses OLED and you like the look, leaving dark mode enabled gives steady savings during heavy app use.
Scheduling: Most phones let you enable dark at sunset or during a set time under Display settings. This reduces harsh light at night and helps you use lower visible output.
| Use case | Best option | Why it helps |
|---|---|---|
| High social app time | Dark theme always on | More dark pixels during long sessions saves energy on OLED |
| Night reading | Auto-schedule at sunset | Reduces glare and lets you lower brightness without strain |
| LCD phones | Use for comfort, not power | Visual relief is primary; power savings limited |
Reality check: dark mode helps, but it pairs best with moderate brightness and short on-time habits. Also prefer dark themes in heavy-use apps (mail, social, browser) so the software keeps most pixels dim and saves energy across the day.
Pair brightness changes with battery-saving modes and software controls
Combine a lower visible level with system power tools to get the most runtime without sacrificing core use. Reducing the display cuts panel draw, while software limits reduce everything else that drains charge.
Adaptive Battery
Adaptive Battery learns how you use apps and slows background activity for ones you rarely open. This reduces unseen waste and helps your phone last longer without constant fiddling.
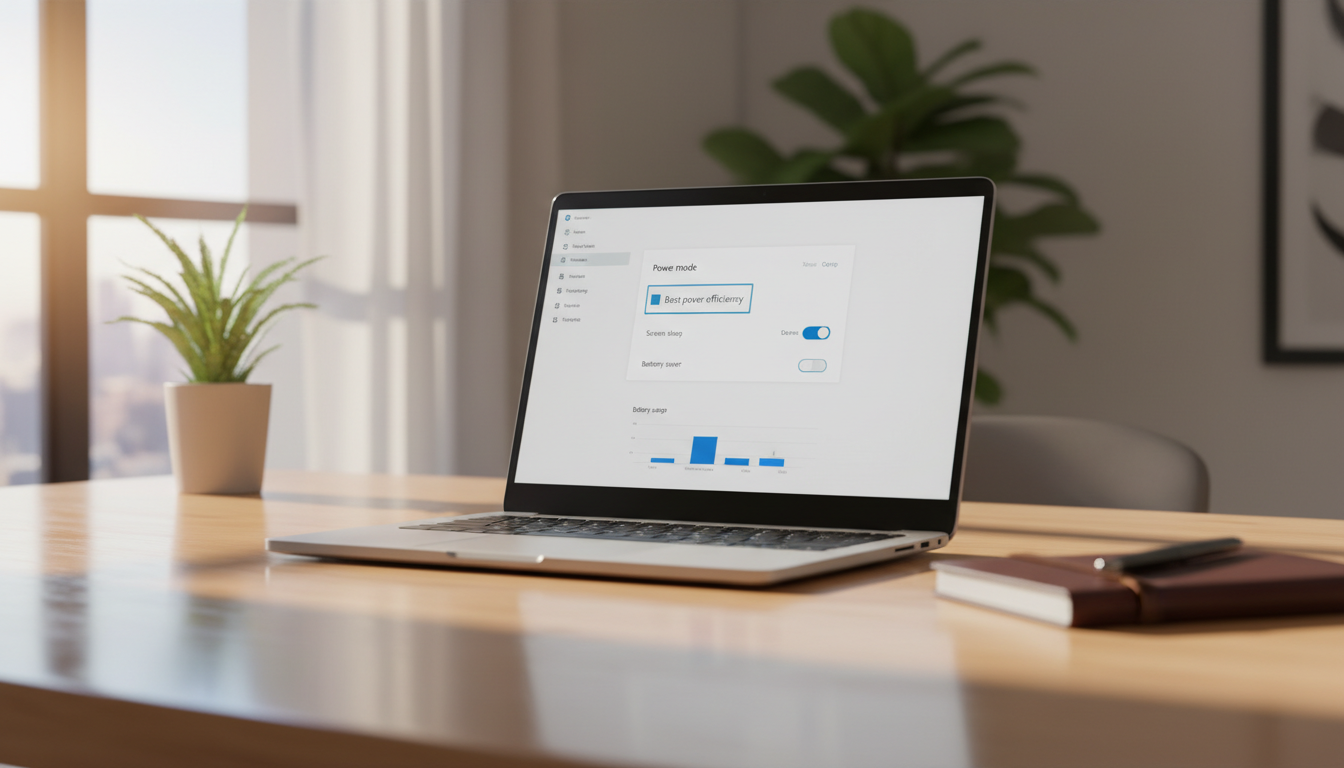
Battery Saver and Power Saving
These modes commonly trim animations, lower brightness, and stop background refresh to conserve energy. Expect reduced sync frequency, fewer location pings, and simpler visuals in exchange for extended runtime.
Low-power and extreme options
Low-power modes drop refresh rate and cap CPU work for steady gains. Extreme options pause many apps and services; use them for emergencies or long travel, not as a daily default.
- Start with Adaptive Battery and a moderate display level.
- Enable Battery Saver at a set threshold (for example 30% or 20%).
- Reserve Extreme mode as a last-resort option to save battery until you reach a charger.
Reduce background battery drain so your display settings go further
Stopping needless app activity makes every reduction in light output more effective. Small display tweaks add up only when the phone isn’t waking and syncing nonstop.
Stop unnecessary notifications to cut background refresh and screen wake-ups
Go to Settings → Notifications → App notifications and mute low-value alerts. Fewer notifications mean fewer wakes and less on-time for the display.
Remove unused accounts that keep syncing
Old email or social accounts can sync silently and tax the system. On Samsung, check Accounts and backup; on Pixel, open Passwords & accounts and remove anything you no longer use.
Turn off “Hey Google” voice detection if you don’t use it
If you rarely use hands-free assistant features, disable voice detection: Google app → Settings → Google Assistant → Hey Google & Voice Match → off. That stops continuous listening and saves modest but steady power.
Disable wireless features you aren’t using
Toggle Bluetooth, location, and other radios off from Quick Settings when not needed. In low-signal areas, radios work harder and drain charge faster — a useful tip for travel days or long meetings when charging is limited.
Turn off keyboard sounds and haptics for small but steady savings
Under Language & input or keyboard preferences, disable key sounds and vibration. Heavy texters will notice these cuts add up across the day and help your phone hold charge longer between charging stops.
Practical case: on travel or tournament days, combine these background fixes with a moderate visible level and shorter timeout. The result is real extra life when you need it most.
Conclusion
Adjusting a few simple display and power settings can stretch your device’s runtime noticeably. For most users, small, steady moves beat occasional extremes.
Default stack: choose moderate brightness, shorten the timeout, turn off always‑on, and use dark mode on OLED devices. These steps keep the view usable while saving meaningful life per day.
Measured reality: full output raises power draw, and how many times the screen wakes and how long it stays on drives real-world results. If you can’t rely on charging access, prioritize display controls first.
Quick checklist before you leave: set the level for the environment, confirm timeout, enable saver if needed, and disable unused radios. Try one change at a time, observe end‑of‑day results, then keep what works for each case: office days, outdoor days, travel, and nights.