How CPU Power Limits Affect Battery Wear
Discover the relationship between cpu power limits and battery wear, and find out how to adjust settings for improved battery life.
Understanding how a processor’s set boundaries shape heat and battery life helps you make smarter choices for daily use. Laptops run hotter than desktops because they have less room to move air and a tight energy budget when on battery.
When a device hits its configured thresholds, the system may cut performance to stay safe. This thermal throttling reduces speed but also protects components and the battery from sustained high temperatures.
The goal here is practical: find a balance between responsiveness and lower heat during long sessions on battery. We will explain how to check if thresholds are reached, where to adjust them in BIOS/UEFI or Windows, and safer options like undervolting and improved cooling.
Safety first: make changes slowly, watch temps and stability, and revert if you see crashes, loud fans, or hot surfaces. This guide focuses on modern Intel and AMD portable PCs used in typical US home, school, and work setups.
Key Takeaways
- Processor thresholds shape heat and affect battery stress over time.
- Throttling protects hardware but can hide inefficient default settings.
- Check for hits before changing firmware or OS settings.
- Adjustments should be incremental and monitored for stability.
- Practical fixes include undervolting and better cooling, not maxing benchmarks.
- Advice targets Intel/AMD laptops and portable desktops on Windows in the US.
Why CPU power and heat can accelerate battery wear on laptops
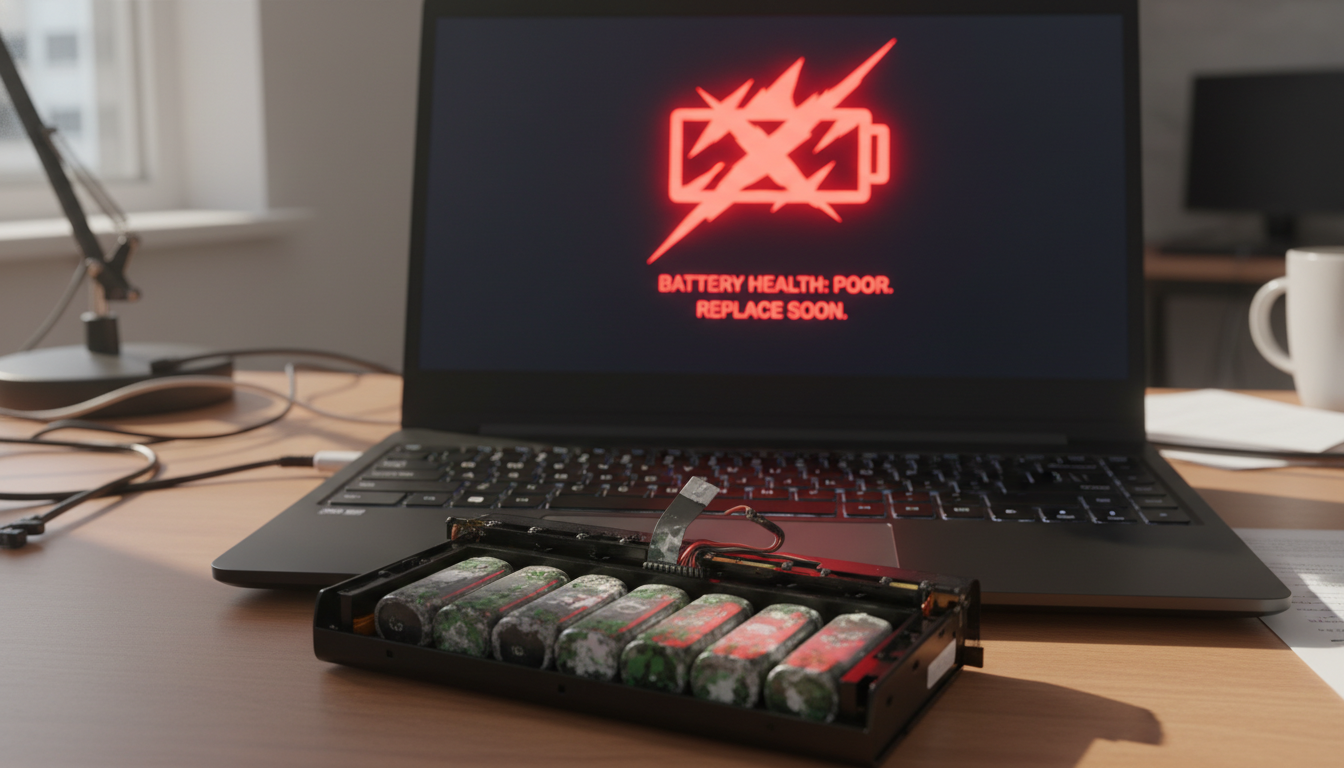
Continuous high demand inside a laptop raises internal temperatures and starts a chain reaction that stresses the battery over time.
How sustained draw stresses the system
Higher sustained cpu power increases heat output. Fans spin faster and the chassis stays warmer, which exposes the battery to higher temperature for longer periods.
Throttling types and user impact
Power limit throttling enforces a configured cap so the processor obeys set draw values. Thermal throttling pulls clocks back when temps approach critical thresholds (often near 100°C TJMax).
The result can be frame drops, loud fans, and choppy responsiveness when the system bounces between caps and thermals.
What good performance feels like
Good performance is steady and repeatable without constant max fan noise or running close to overheating. For longer battery life, lower sustained targets or undervolting can keep clocks stable without hitting thermal ceilings.
| Condition | Trigger | Visible effect |
|---|---|---|
| Short burst | Turbo boost / brief high draw | High speed, short duration, little battery heating |
| Sustained heavy load | Long runtime at high draw | Elevated temps, faster battery aging |
| Power limit throttling | Configured cap reached | Predictable clock reduction, less heat |
| Thermal throttling | Temperature ceiling reached | Aggressive slowdown to prevent damage |
“Aim for stable clocks without constant high fan speed for the best balance of speed and battery longevity.”
Next we’ll look at how Intel and AMD name and implement these behaviors, and what those terms mean in BIOS and Windows.
How cpu power limits work on Intel and AMD systems
Modern Intel and AMD designs use tiered power controls to balance short bursts of speed with long-term thermal safety.
Intel PL1 and PL2
PL1 is the sustained ceiling — the all-day level for long workloads. PL2 is the sprint ceiling for short bursts that make a system feel responsive. Tau is the timer that decides how long PL2 can run before the chip drops to PL1.
What Tau does
Tau controls the duration of burst behavior. Shorter Tau helps laptops avoid heat soak and reduces battery stress over time.
AMD equivalents
AMD uses PPT as the package sustained cap, with TDC and EDC limiting current delivery. EDC behaves like a short-burst cap similar to PL2 in practice.
PL3, PL4 and BIOS defaults
PL3 and PL4 act as very short safeguards for spikes; most users only need to tune PL1/PL2 or PPT/EDC. Some motherboard and BIOS defaults set these levels aggressively or even “unlimited” to chase benchmarks, which raises thermals with little real-world gain.

How to tell when your system is hitting a power limit (and what it means for battery life)
A clear sign of a system at its limit is steady frequencies that refuse to rise under load. Watch clocks and fan activity while you run a demanding app.
Common signs during gaming and productivity
Observable symptoms include clocks dropping to a consistent plateau, performance settling below expected peaks, and monitoring tools reporting a “Power Limit” flag during stress tests or heavy apps.
In gaming, you may see intermittent dips or lower peak boosts during scene changes. In long renders or encoding jobs, frequencies often settle into a steady, lower band as the system enforces the sustained cap.
When cooling, not settings, is the real bottleneck
Shared cooling on laptops means a loaded GPU can force the processor to downclock. Check package temperature, combined load, and fan speed together rather than a single metric.
Why this matters for battery life: repeated high draw and constant fans raise discharge rate and heat exposure. That increases long-term battery wear even if short-term performance seems acceptable.
“If temperatures are high, raising the configured cap often speeds up thermal throttling with little real gain.”
| Symptom | Likely cause | Battery impact |
|---|---|---|
| Steady frequency plateau | Enforced sustained cap | Moderate heat, higher discharge over time |
| Intermittent dips in games | Short-burst cap or scene-driven load | Short spikes, marginal extra wear |
| High temps despite high caps | Cooling limit / thermal throttling | Significant heat exposure, faster capacity loss |
Decision rule: if monitoring shows a power-limit flag but temps are mild, adjust the configured caps carefully. If thermal throttling is present, prioritize undervolting and better cooling before raising any ceilings.
How to adjust CPU power limits safely in BIOS/UEFI and in Windows
Collect baseline readings first. Record current BIOS values, voltage and package temperature, and run a short stress test so you have clear results to compare.
BIOS/UEFI basics
Open settings under menus such as Advanced, Overclocking, or CPU Power Management. Laptop OEMs often hide fields; desktops expose PL1, PL2, Tau, and voltage controls more readily.
Set PL1 near the sustained target
Set PL1 close to the processor’s published TDP for steadier thermals and less long-term battery strain. This reduces constant high fan activity and keeps system temperature manageable.
Tune PL2 and Tau for bursts
Keep PL2 generous for snappy bursts but shorten Tau so the chassis and battery do not heat-soak during long tasks. Test one change at a time and log frequency and temp results.
Windows guidance
Use Balanced or a custom profile on battery. Reserve High Performance for plugged-in sessions only. That setting raises draw and heat, so account for cooling before enabling it.
“Do not remove the power limit entirely — unchecked increases often lead to thermal throttling, instability, and shorter component life.”
- Update BIOS if needed and note current values.
- Ensure a hard surface for airflow and run monitoring tools.
- Change one variable, retest, then compare results and revert if unstable.
Practical solutions that reduce battery wear without sacrificing optimal performance
Undervolting is the first high-leverage solution for many laptops. Lowering voltage often cuts heat and reduces drain while keeping responsiveness. Test stability with short stress runs; stop if you see crashes or errors.
Undervolting for more thermal headroom
For most users, a modest undervolt opens thermal headroom so the processor can sustain higher clocks without thermal throttling. Note: some OEMs block undervolting or restrict settings on modern models.
Tool-based tuning
Use Intel Extreme Tuning Utility or AMD Ryzen Master where supported. These software tools let advanced users adjust voltage and brief boost behavior. Laptops may expose fewer options than desktops.
Cooling improvements that matter
Clean vents and fans, improve airflow, replace old thermal paste, and consider a cooling pad if it lowers temps. Better cooling reduces heat soak and the negative impact on battery lifespan.
Workload-based profiles
Create a “Gaming” profile that favors short bursts and caps long-run draw, and a “Rendering/Editing” profile that targets a steady sustained wattage your chassis can handle. Most users should pick quiet, stable settings; enthusiasts can tune more aggressively if they upgrade cooling.
Conclusion
Balancing short boosts with a steady sustained target keeps your laptop responsive and healthier over time. ,
Key takeaway: managing power and burst behavior is about matching settings to your cooling and use case, not removing safeguards. This reduces thermal stress and helps limit battery wear over months of daily use.
Diagnose first: watch for power limit flags, thermal throttling, or both. Then pick one lever—PL1/PL2 or PPT, undervolting, better airflow, or a balanced Windows profile—and test carefully.
Use small steps, log a simple before/after report, and revert if stability or temps worsen. Gamers can keep brief boosts; creators should cap sustained draw for steady results.
If you have questions, start with one change today—clean vents, set a balanced plan, or lower PL1 slightly—and measure for optimal performance.