What Happens When a Laptop Reaches Its Cycle Limit
Understand the battery cycle limit laptop concept and its impact on your device. Find out what to do when your laptop reaches this limit and how to optimize its battery.
Plain and simple: a device reaches a set number of full charges and recharges over time. This is often called the battery cycle limit and it helps explain why runtime drops after years of use.
Reaching that marker does not mean the machine stops working overnight. Instead, you will notice lower performance and reduced capacity compared to when it was new. Many cells keep roughly 80% of original capacity after about 500 cycles, and ratings often sit between 300 and 1,000 cycles.
This guide will show practical steps: check charge count, read battery health metrics, cut down on wear factors, and decide when replacement is sensible. We cover causes of variation like heat, charging habits, and workload.
This article applies to modern Windows, macOS, and Linux systems so you can follow along no matter your setup. Expect easy checks and clear actions to extend runtime and overall lifespan.
Key Takeaways
- Cycle counts are a measure of total charges, not an instant failure point.
- Expect capacity to fall gradually; ~80% after ~500 cycles is common.
- Check battery health metrics and charge count on your system.
- Lower heat and smarter charging reduce wear and extend runtime.
- Replacement is a practical choice when performance and capacity drop too far.
Understanding charge cycles and why they matter for laptop battery life
Think of total recharges as an odometer that records how hard a power pack has worked. That tally helps predict when run time will fall and when replacement might be sensible.
What a charge cycle is: using about 50% one day and 50% the next (with recharges) equals one full cycle. Partial top‑ups add together over time, so frequent short charges still count toward total wear.
Typical life ranges vary. Many systems last roughly 2–5 years or about 300–1,000 cycles. Chemistry, heat, and heavy usage cause the spread, so your results may differ.
| Measure | Typical Range | Practical meaning |
|---|---|---|
| Years | 2–5 | Normal use, mixed plugged and unplugged time |
| Cycles | 300–1000 | Totals reflect all partial and full recharges |
| Capacity after ~500 | ≈80% | 10 hours new → about 8 hours under similar load |
Everyday habits matter: frequent top‑ups, heavy apps on battery, and travel days speed accumulation. Expect runtime to change with what you do—light browsing lasts much longer than gaming—even at the same charge count.
What “battery cycle limit laptop” means on modern devices
Think of the published figure as a design target, not a hard fail point. Manufacturers set this mark to show when usable capacity often falls below an engineering threshold. That threshold usually ties to warranty terms and a common rule of thumb: about 80% of original capacity.
Why cycle limits vary by brand and model
Companies pick different cell quality, pack design, and management software. Some notebooks are rated near 300 full counts while others aim for 500 or more. These numbers reflect trade-offs in cost, weight, and intended lifespan.
How lithium-ion chemistry degrades with repeated charging and discharging
Inside, ions move between electrodes during charging and discharging. Over many repeats, electrode material wears and internal resistance climbs. The result is less usable capacity and modest drops in peak performance.
| Factor | Typical impact | Practical outcome |
|---|---|---|
| Cell quality | High → longer lifespan | Slower capacity loss |
| Pack design | Robust → better thermal control | Less degradation from heat |
| Management firmware | Smart → gentler charging | Sustained health and steady performance |
Next: learn what users notice as a device hits higher totals, from shorter run time to occasional throttling.
What happens when your laptop reaches its cycle limit
After long use, the pack holds less energy and everyday routines no longer last as long unplugged.
Shorter runtime per charge: As capacity drops, the same tasks give fewer hours away from a charger. A six‑hour session can feel closer to four hours under the same settings. This change directly affects daily planning and device life.
Unreliable percentage and quick drops: Worn packs often show sudden falls in percent during bursts of activity. You may see less reserve at low levels and unexpected shutdown risk when the meter reads near zero.
Performance and charging behavior to expect
Some systems reduce peak performance on low or degraded cells to keep the device stable. Throttling helps extend time but reduces speed under load.
Charging can also feel odd: the unit may hit 100% faster but the full charge drains quickly during meetings, commuting, or class use. These signs usually point to normal chemical aging and many recharges, not a mysterious fault.
| Symptom | What it means | Practical example |
|---|---|---|
| Shorter runtime | Lower usable capacity | 6 hours → ~4 hours |
| Unstable percent | Less reserve under load | Sudden jump from 20% to 5% |
| Throttled performance | Reduced peak power | Slower app response on battery |
If your laptop no longer lasts a typical day without extra plugs, measure health and total recharges next to confirm whether wear is the cause.
How to check your laptop battery cycle count right now
You can reveal the total recharges and health data in minutes using built‑in tools on every major OS.
Windows: generate a report
Open Command Prompt as admin and run powercfg /batteryreport. The tool writes an HTML file to your user folder. Double‑click the file to open the battery report in your browser.
Look for “Installed batteries” and “Battery capacity history” to find design vs full charge values and the reported cycle count.
macOS: System Information
Click the Apple menu → About This Mac → System Report. In the left column open Power. The Power panel shows the cycle total and full charge capacity for the device.
Linux: use upower
Run: upower -i /org/freedesktop/UPower/devices/battery_BAT0. Read the reported energy, percentage, and any cycle count fields exposed by firmware.
When the count is missing
“Missing counts often mean the hardware or firmware isn’t exposing the data.”
If the count is absent, update chipset or power drivers, check alternate interfaces (ACPI, /sys/class/power_supply), or export capacity numbers instead. Even without a count you can track health by saving reports and comparing design vs full charge over time.

| OS | How to run | Key fields to save |
|---|---|---|
| Windows | powercfg /batteryreport | Cycle count, design vs full charge |
| macOS | Apple menu → System Report → Power | Cycle count, full charge capacity |
| Linux | upower -i /org/freedesktop/UPower/devices/battery_BAT0 | Energy, percentage, cycle (if present) |
How to interpret battery health, capacity, and performance from your battery report
Start by opening the report and locating two numbers: design capacity and full charge capacity. These values are the clearest signal of pack health and show how much energy the unit could hold when new versus now.
Design capacity vs full charge capacity
Design capacity is what the pack was built to store. Full charge capacity is what it holds today. The gap between them tells you how much usable energy you’ve lost.
Compute a simple health percentage
Divide full charge capacity by design capacity and multiply by 100. A result near 100% is excellent. Around 80% is common after years of use and usually means reduced runtime but acceptable day‑to‑day use.
Connect capacity loss to practical hours
If you once got 8 hours, ~80% health often means about 6–6.5 hours under the same load. Less capacity also forces more aggressive power management, which can lower perceived performance during bursts of work.
When normal wear becomes a productivity problem
Normal wear shows as more frequent recharging, carrying a charger, or losing flexibility on long travel or meeting‑heavy days. Track the report monthly to spot rapid decline linked to heat or heavy use.
| Metric | What it shows | Practical impact |
|---|---|---|
| Design capacity | Original energy target | Baseline for health calculation |
| Full charge capacity | Current max energy | Directly ties to hours per charge |
| Health (%) | Full ÷ Design × 100 | 80% → noticeable shorter day, 60% → limited mobility |
| Performance notes | Power management events | Peaks may throttle when capacity is low |
Next: we’ll cover the main factors that speed up wear so you can protect remaining time and keep battery performance steady.
Key factors that speed up battery wear beyond cycle count
High heat and poor habits often shave usable life faster than raw charge counts suggest. Below are the main factors to watch and simple checks you can run today.
Safe operating temperatures
Lithium-ion packs perform best around 68–77°F. Sustained exposure above ~95°F speeds chemical aging and raises long‑term damage risk.
Keeping devices in that comfortable band slows capacity loss and reduces internal resistance over time.
Heat sources that quietly increase risk
Common offenders include using a device on blankets or couches that block vents, leaving it in direct sun, hot cars, or sustained gaming and heavy work that heat the chassis.
These sources raise local temperatures and magnify wear even if overall use seems normal.
Usage patterns and deep discharges
Frequent long unplugged sessions — commuting days, long classes, or repeated travel — add many partial recharges and increase overall usage.
Running below ~20% frequently causes voltage stress and faster decline. Avoid deep discharges when you can.
Charging habits and continuous plugged use
Keeping a device always plugged in is not a cure if it stays hot. High state of charge plus warm conditions raises damage risk.
- Environment: hot rooms, sun, or cars
- Workload: gaming, rendering, or other heavy tasks
- Charging timing: frequent deep drains or constant full charge in heat
- Ventilation: blocked vents or soft surfaces
Next: simple charging settings and routines can cut wear. Apply those tactics to extend remaining lifespan and steady your device’s health.
How to optimize charging to extend battery lifespan after high cycle counts
Small changes to how you top up power can add months to a pack’s useful life.
Below are clear targets and habits that reduce stress and help extend battery life without technical tricks.
Target charge levels that reduce stress
Aim for about 20%–80%. Keeping the charge level in this band avoids deep lows and long high‑voltage time at 100%.
Why it helps: less time at extreme states slows chemical wear and lengthens lifespan.
When to plug in and when to unplug
Plug in when the readout drops to ~20–30% to avoid deep discharge stress.
Unplug near ~80–90% if no charge limiter exists. This gives usable runtime while reducing long‑term damage.
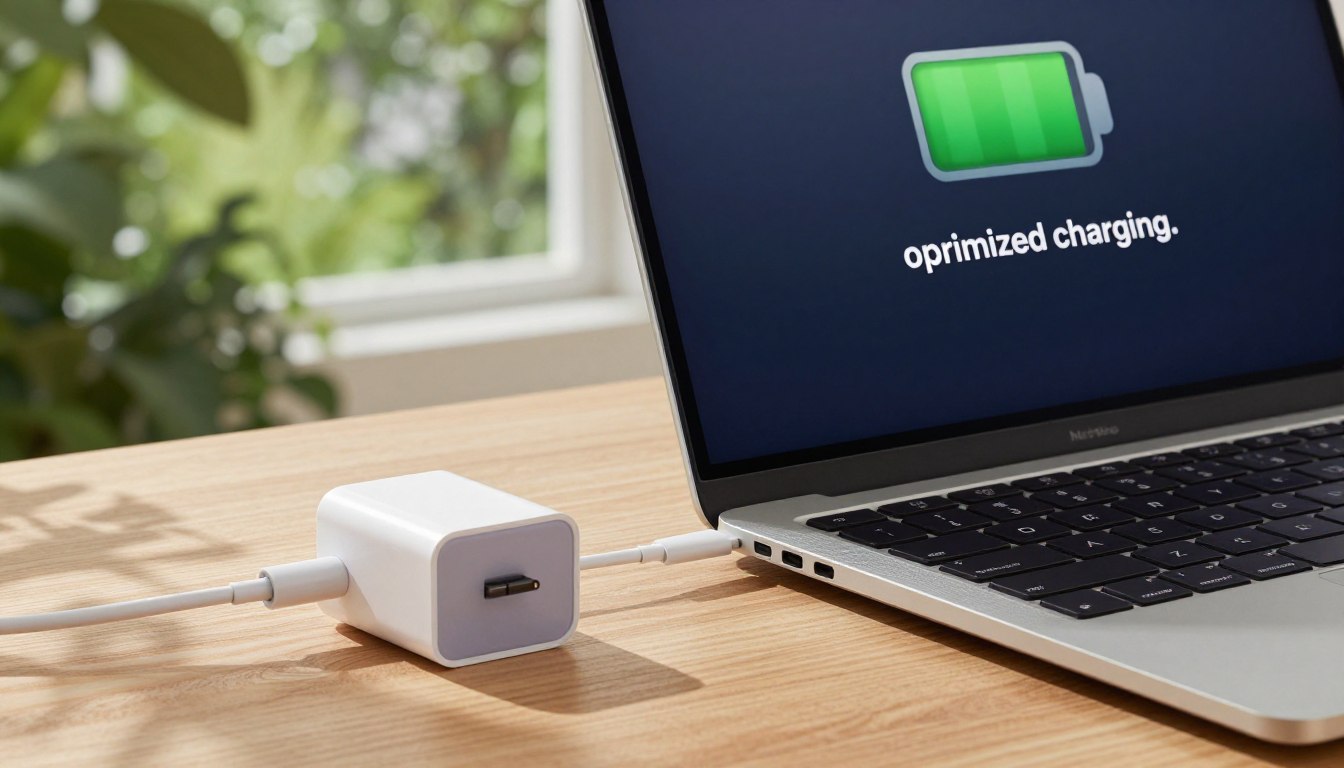
Using smart charging and charge limit features
Many OEM tools (Lenovo Vantage, Dell Power Manager, ASUS MyASUS, HP support apps) offer toggles to stop charging at about 80%.
Tradeoff: you sacrifice some single‑session runtime to extend lifespan. For mostly plugged‑in use this is often worthwhile.
“Smart charge settings reduce time at high voltage and help extend battery life.”
For high cycle counts, prioritize steady routines and use built‑in settings before considering replacement. Next, we cover tweaks to improve daily runtime without new hardware.
How to improve daily battery life with Windows power settings and device tweaks
You can gain meaningful time by changing a few simple display and power options in Windows. These tweaks help extend runtime without hardware changes.
Brightness adjustments that deliver quick battery time gains
Lowering the screen brightness is often the fastest way to get extra hours. Find a comfortable minimum indoors and raise it only for bright outdoor use. Small drops in screen output give outsized savings in power draw.
https://www.youtube.com/watch?v=SZSt_aHXssY
Battery saver and power modes to balance performance and battery life
Open the power settings and choose Battery Saver or Best Power Efficiency when you need time over speed. Pick Balanced or a higher performance plan only for heavy work like gaming or video edits. Switching modes prevents unnecessary drain.
Managing background applications that drain power
Stop always‑on sync tools and remove unneeded startup applications. Use Task Manager to spot apps using CPU or network. Turning off keyboard backlight, reducing refresh rate, and disabling unused radios compound into more usable time and less heat.
“Measure changes on a normal workday — compare before and after to see real gains.”
How to keep your laptop cool to protect battery health
Good airflow and sensible placement help your device run cooler and last longer. Heat speeds chemical aging, so simple steps give big practical gains in battery health and overall system health.
Ventilation best practices and avoiding soft surfaces
Using on a bed, couch, or blanket can block vents and trap warm air. That raises internal temperatures and accelerates wear.
Set your machine on a hard, flat surface. Keep intake and exhaust vents clear. Clean dust from vents every few months to restore airflow.
If the chassis benefits from elevation, use a slim stand to let air move freely under the base.
Safe workspace habits for hot environments and travel
Don’t leave a unit in a hot car or direct sun. High ambient temperatures shorten usable life even when you are not actively using the system.
After heavy work, let the device cool before charging. When traveling, give extra ventilation and avoid packing it in a warm bag immediately after long renders or gaming.
Practical tips:
- Do demanding tasks while plugged in and well ventilated to limit stress on the pack.
- Consider a cooling pad for desk use and enable OEM fan or thermal profiles when available.
- Avoid heavy loads on battery in hot rooms to save time and reduce long‑term wear.
Even excellent cooling can’t reverse chemical aging; good habits delay replacement but won’t restore lost capacity.
Signs your laptop battery needs replacement
You’ll know it’s time to act when daily runtime no longer covers your normal work or school schedule.
Runtime drop and frequent recharging. If a full charge that once delivered several hours now needs topping up multiple times a day, the unit likely needs service or replacement. Track typical hours and compare them against past performance.
Corroborate with data. Check health metrics: a high cycles count plus a low full charge capacity versus design capacity confirms true wear and not just settings or apps.
Unexpected shutdowns
Devices that shut down while showing a nonzero level have cells that can’t supply steady power under load.
This is more than an annoyance — it risks data loss and shows the pack cannot reliably meet demand.
Swelling or physical deformation
Stop using the device on battery immediately if you see bulging, case separation, or pins pushed out. Physical swelling is a safety hazard and needs urgent professional attention.
“If the unit can’t last the required hours for work or school, replacement becomes a productivity fix, not just an upgrade.”
Document what you see before buying parts. Save screenshots of reports, note the cycle total and health percentage, and list symptoms. This helps pick the correct part and avoid low‑quality replacements.
| Sign | What to check | When replacement is warranted |
|---|---|---|
| Short runtime | Full charge hours vs. past baseline | If usable hours fall below needs for work/school |
| Unstable percentage / shutdowns | Full charge capacity and reported cycles | Immediate if shutdowns occur during normal tasks |
| Swelling / physical damage | Visual inspection, case deformation | Replace immediately; stop using on battery |
Next step: if these signs affect productivity or safety, move on to choosing a compatible and safe replacement in the following section.
What to do when replacement is the best option
A proper replacement restores mobility but only if you pick the right part and follow safe charging rules. Gather model data, verify specs, and plan a short maintenance window before buying.
Choosing a compatible part and avoiding low-quality options
Match the exact model or part number and confirm physical fit. Check manufacturer documentation for voltage and rated capacity.
- Buy from reputable sellers or the OEM to reduce safety risks.
- Look for certifications and clear return policies to avoid counterfeit units.
Charger wattage and voltage considerations
Always match the device voltage (V) and use a charger with at least the required wattage (W). Underpowered chargers force the system to draw more current and may stress components.
Planning for data safety and minimizing downtime
Back up files, confirm recovery keys, and schedule a short downtime window. After replacement, verify charging behavior in system panels and watch early operation for stability.
“Stability first: confirm charging, check reporting in system tools, and monitor initial performance.”
| Step | Action | Why it matters |
|---|---|---|
| Identify part | Match model/part number | Ensures fit and correct specs |
| Charger | Match V, meet or exceed W | Safe and reliable power delivery |
| Safety | Use certified sellers | Reduces failure and hazard risk |
Disposal: recycle old packs through authorized programs rather than throwing them away. A new unit will restore mobility, but daily run time still depends on settings, workload, and temperatures discussed earlier.
Conclusion
Bottom line, treat reduced runtime as a clear signal: measure, adapt, and plan.
Check your device report for cycle totals and full vs design capacity to turn data into real hours. Use that information to set sensible charge targets and to judge whether a replacement is needed.
Control the main wear drivers: heat, deep discharges, and long stays at very high state of charge. Limiting these improves battery health and extends usable time.
If usual hours no longer meet your day or safety signs appear, replacement is the practical fix. Otherwise, track health over time and apply small settings changes to keep your laptop working longer.